The first thing we had to do was replace the a couple of oak beams in the kitchen as a two of the old ones were too badly wasted at one end to be able to support the bedroom floor above.
I propped up a beam with three acro props and used some 4 x 2 wood nailed to the top of the beam to the adjoining one to stop any sideways movement.
I made sure that there were no nails in the area I was to cut and then used a chain saw to cut as close to the wall at each end as I could.
Once done I used a rope over each wall and just lowered them to the ground.
We then had to dig out the space where the new beams were to go, luckily one end of each would sit in conveniently placed hay doors and one end of each was a simple excavation job in the wall.
Next we put up tower scaffold inside the kitchen so that the beams would rest on it while we positioned them with acro props and some well placed grunting.
This is where the old ones had come from and you can see the doorways which were going to hold one end of each beam. This meant that it was easy to push them into final position.


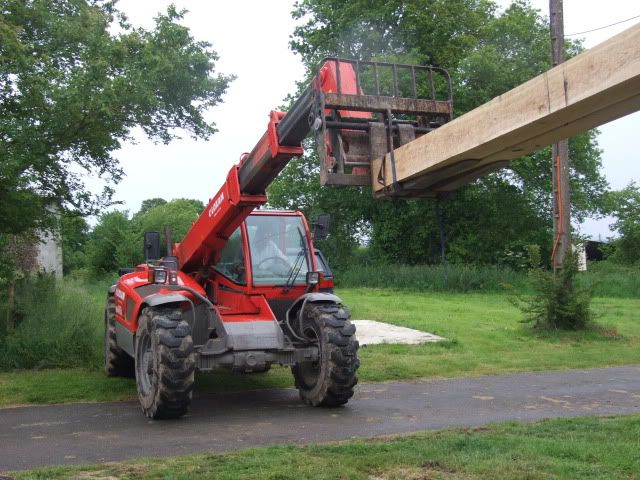
Here are the new kitchen beams arriving. I was hoping that the driver could use his grab crane and get them in the hay door but the electric and telephone wires prevented that so I had to come up with Plan B. Plan B itself was that he would get them in as far as he could by leaning them in through the hay door and then I would hire a manatu (which is a telescopic 4 wheel drive fork lift thing) and strap the beams to the forks and push them in the rest of the way on to the scaffolding towers. Once there we would maneuver them using a couple of acro props.

Here they are from the inside awaiting the big push


Cargo strap the forks to the beams for safety and with Mrs B positioned by the door safely out of harms way she shouted out the orders of how far, how hard, and at what angle she wanted me to push to make sure they landed squarely on the internal scaffold.
I am sure that sentence is rife with double entendres but I will resist the temptation!.
Once in place I had to trim the ends to size. I am unsure as to how many chain saw safety rules I am breaking in these next two photos and it is enough to give a professional a case of the "fucking hells!!" but although it looks hairy I was in control of the situation. Just.
Perhaps it should be mentioned at this stage that a higher and more robust platform would have been the safer option and although I "got away with it" the elimination of the risk factors would have enhanced the safety of this operation.
I did know that the saw would drop and had practiced a few dummy runs before hand so I moved it away form my legs while it was still spinning. I now have professional chain saw trousers which reduce the risk of injury still more.


Once in the room and balanced on the scaffold with a bit of acro prop work and some rope work it was fairly easy, if not a bit scary at times to manoeuvre them into position and level them up.
This is them in place later.
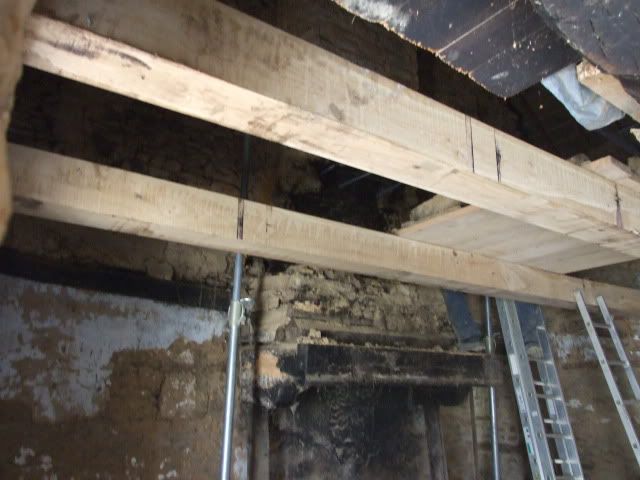
So stage one of the beam work complete. Two new beams in Kitchen
Now onto stage two.
Now onto stage two.
The big one.
Dan dan dan dan daaaahhhn.
There are lots of articles like this now. But still I find this section useful when it comes to acrow props.
ReplyDelete